![]()
Our Products

![]()
Wood Creations of Bradford -
Turned Items
We have just installed a midi lathe suitable for turning spindles and small to medium bowls. Stay tuned as we add new creations.
| Example | Category | Description |
|---|---|---|
 |
Tool Handles |
I have been turning a set of matched too handles for some mini lathe tools I designed for working fine areas on the lathe. Some small skews and scrapers are needed -- some so that I can make "finer" tool handles so I can make small tools that allow me to make smaller items easily. Some 1/4 inch skews and scrapers as well as some 1/2 inch tools as well are in the works. |
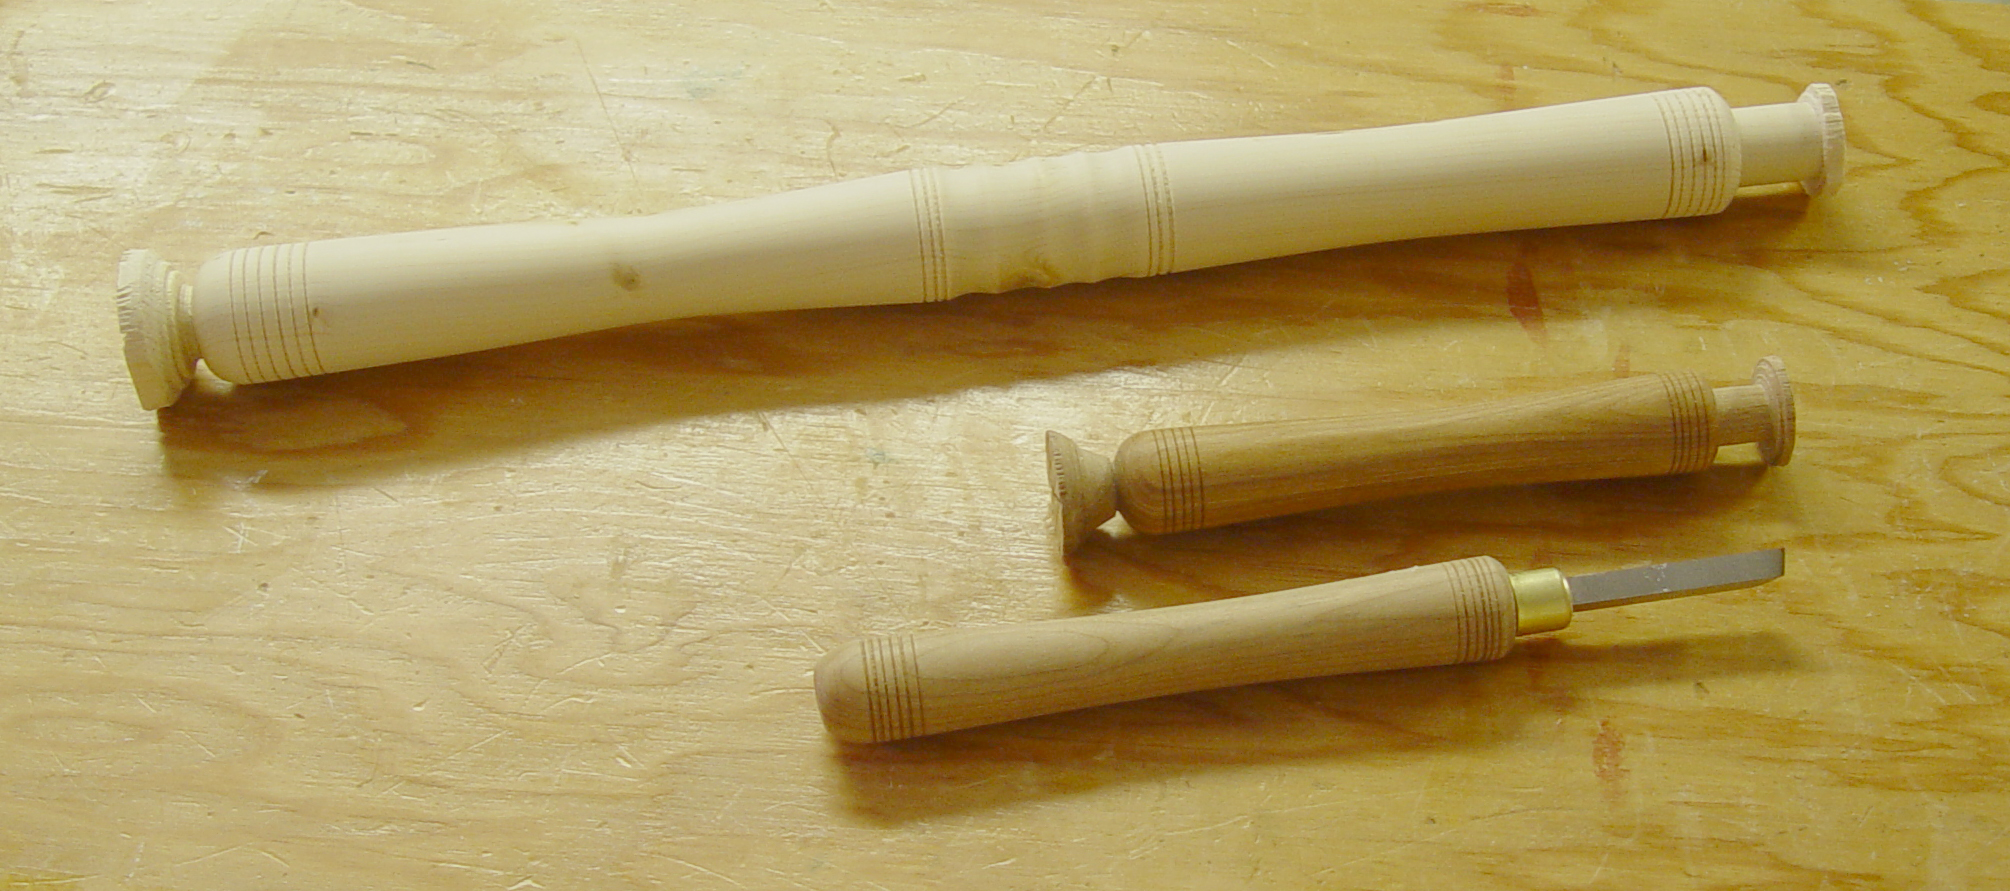 |
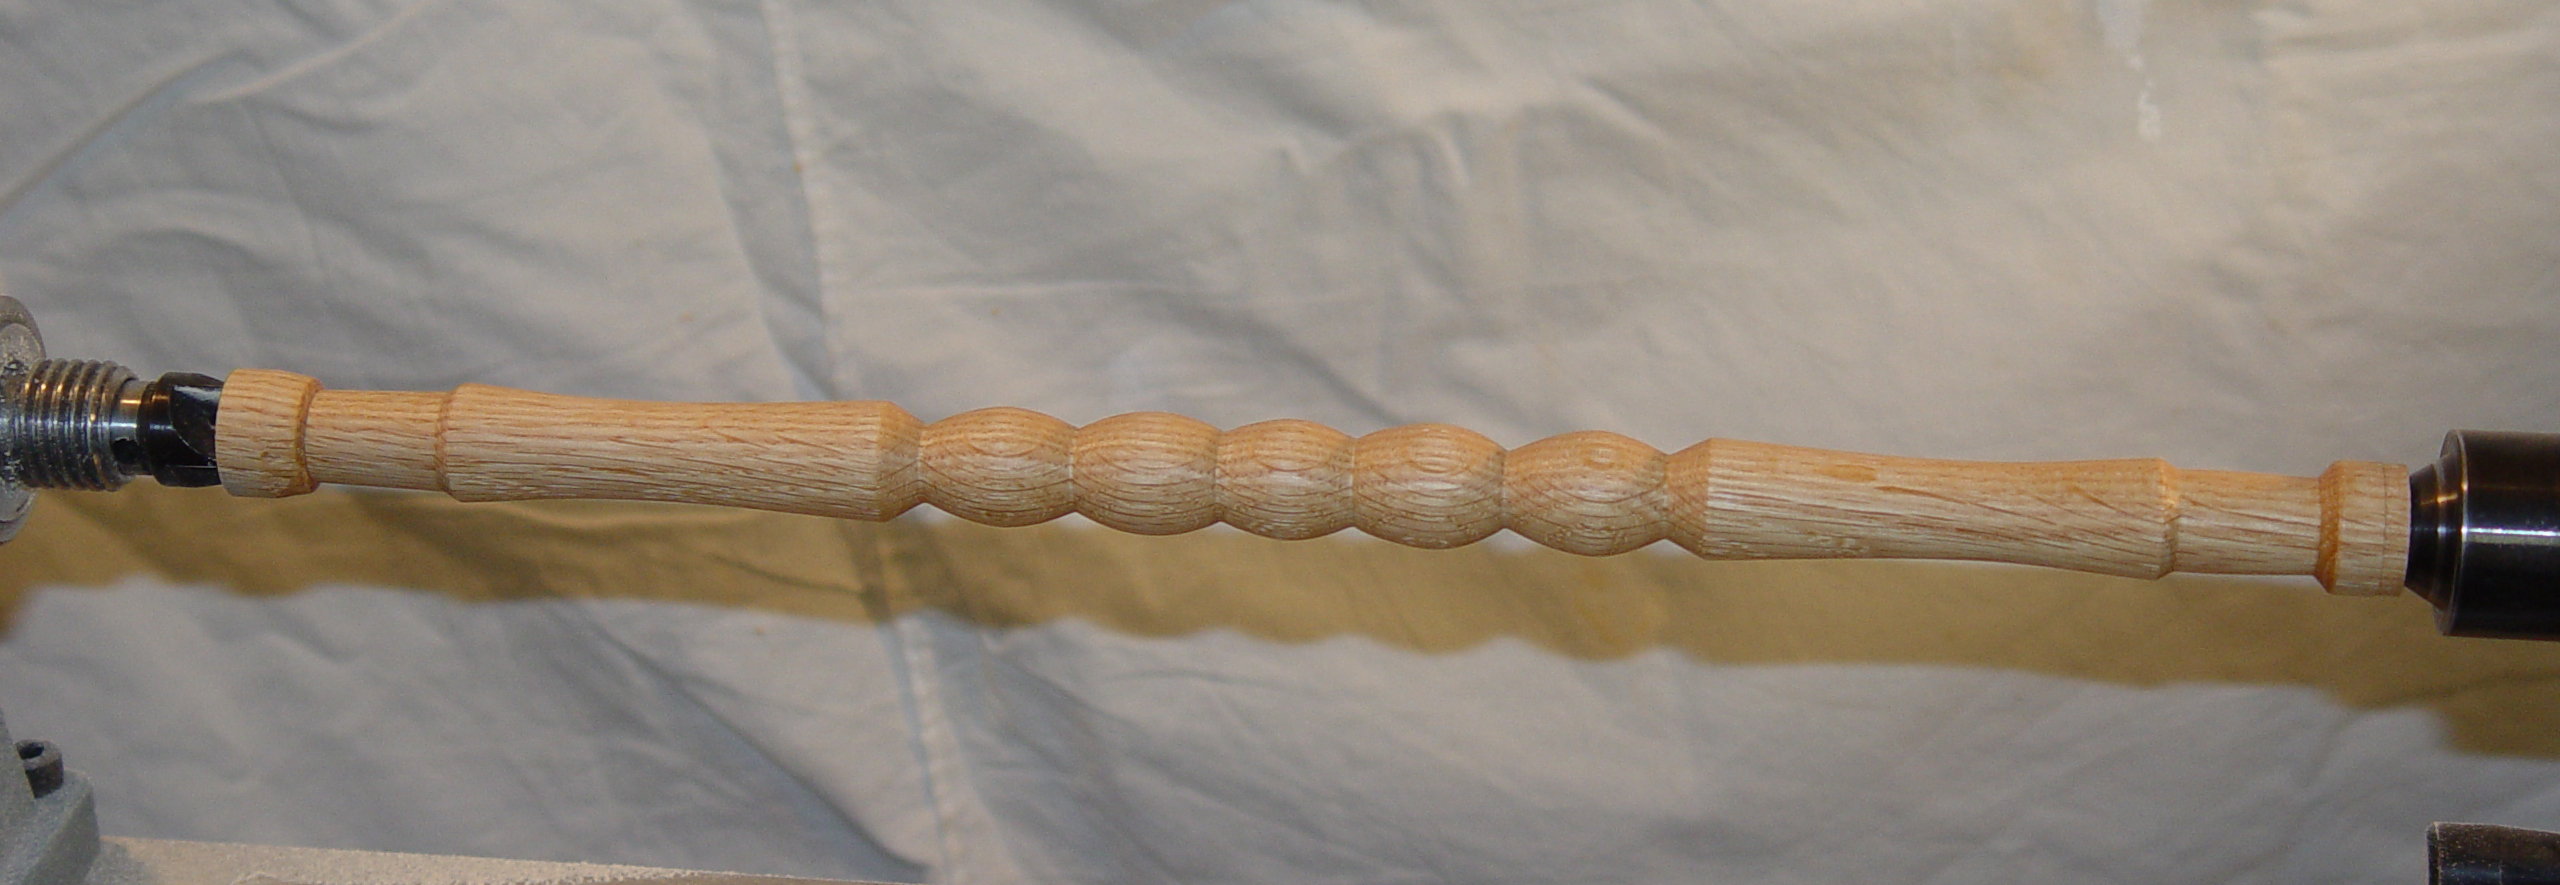
Custom Tool Handles |
A turner is never satisfied with the tools available... Once you have a lathe and a grinder you have the ability to produce your own tools. First I needed an angled scraper to make it easier to turn the ends of the tools where the tang would be inserted. I purchased a piece of tool steel from Busy Bee -- M2 HSS tool steel -- and ground the scraper end at an angle. Now that I have a suitable tool it is a lot easier to make the remaining handles as I can now size the end of the tool accurately enough to make it easy to install the ferrule. The long handle is destined for a custom gouge that will be made from a piece of M2 HSS rod. |
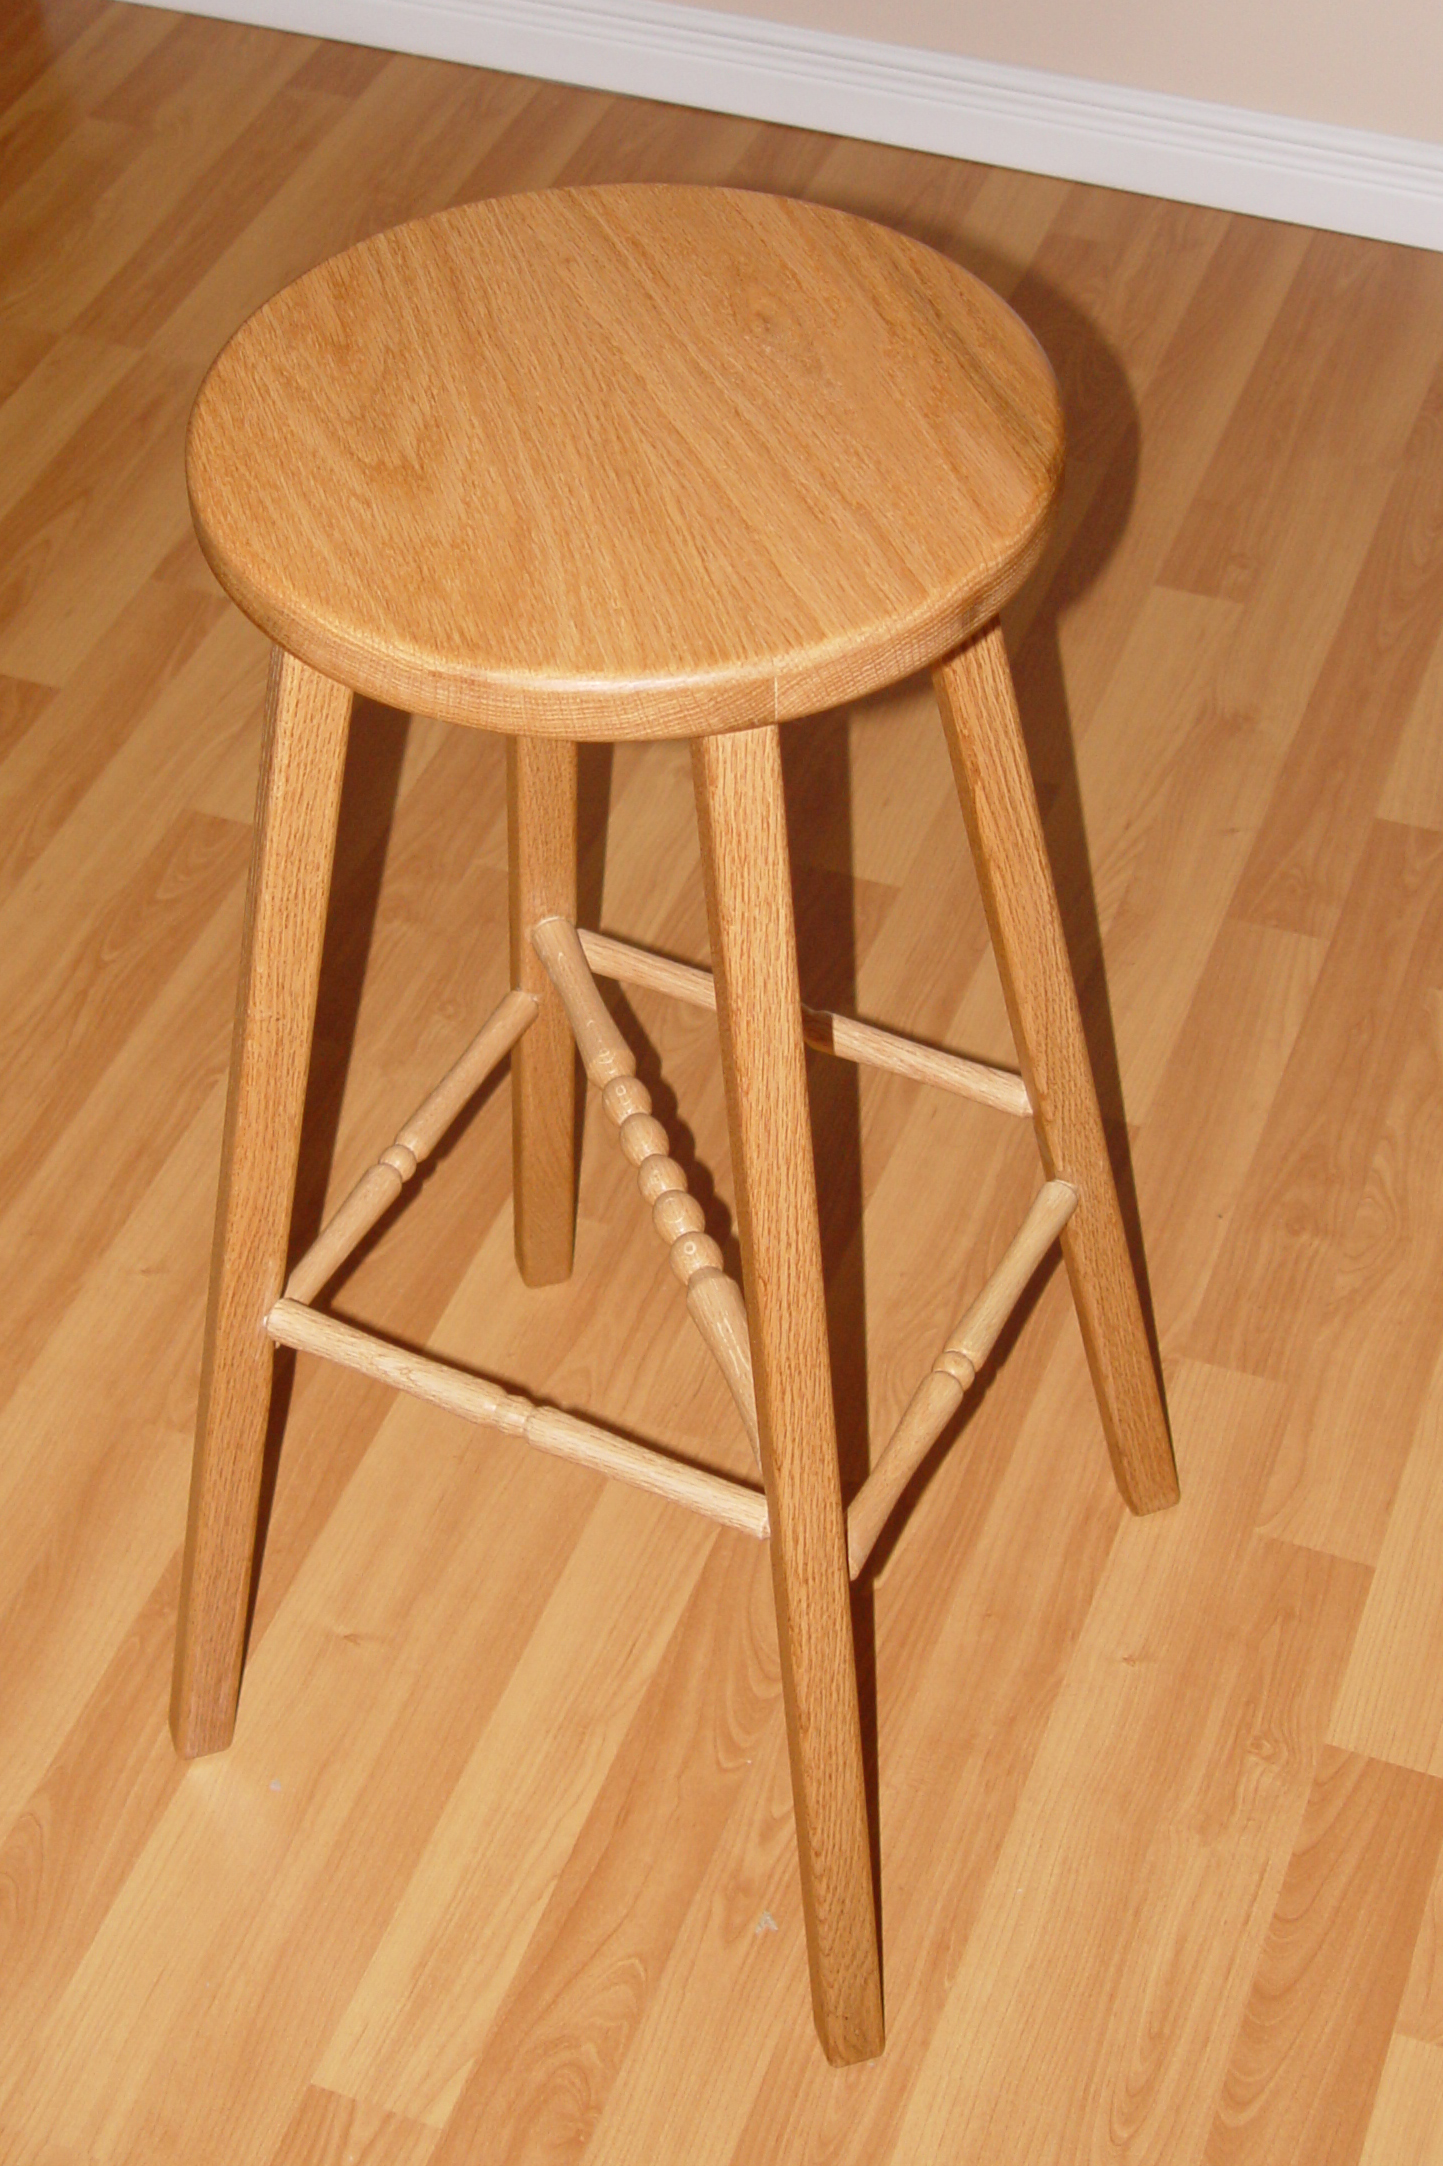 |
Stool with turned spindles |
The stool was designed for strength -- not necessarily style. The diagonal brace was added in anticipation of abuse in the work shop. It has proved to be light and stable. The stool is made of Red Oak and Finished with Antique Oil, and then polished with paste wax. |
 |
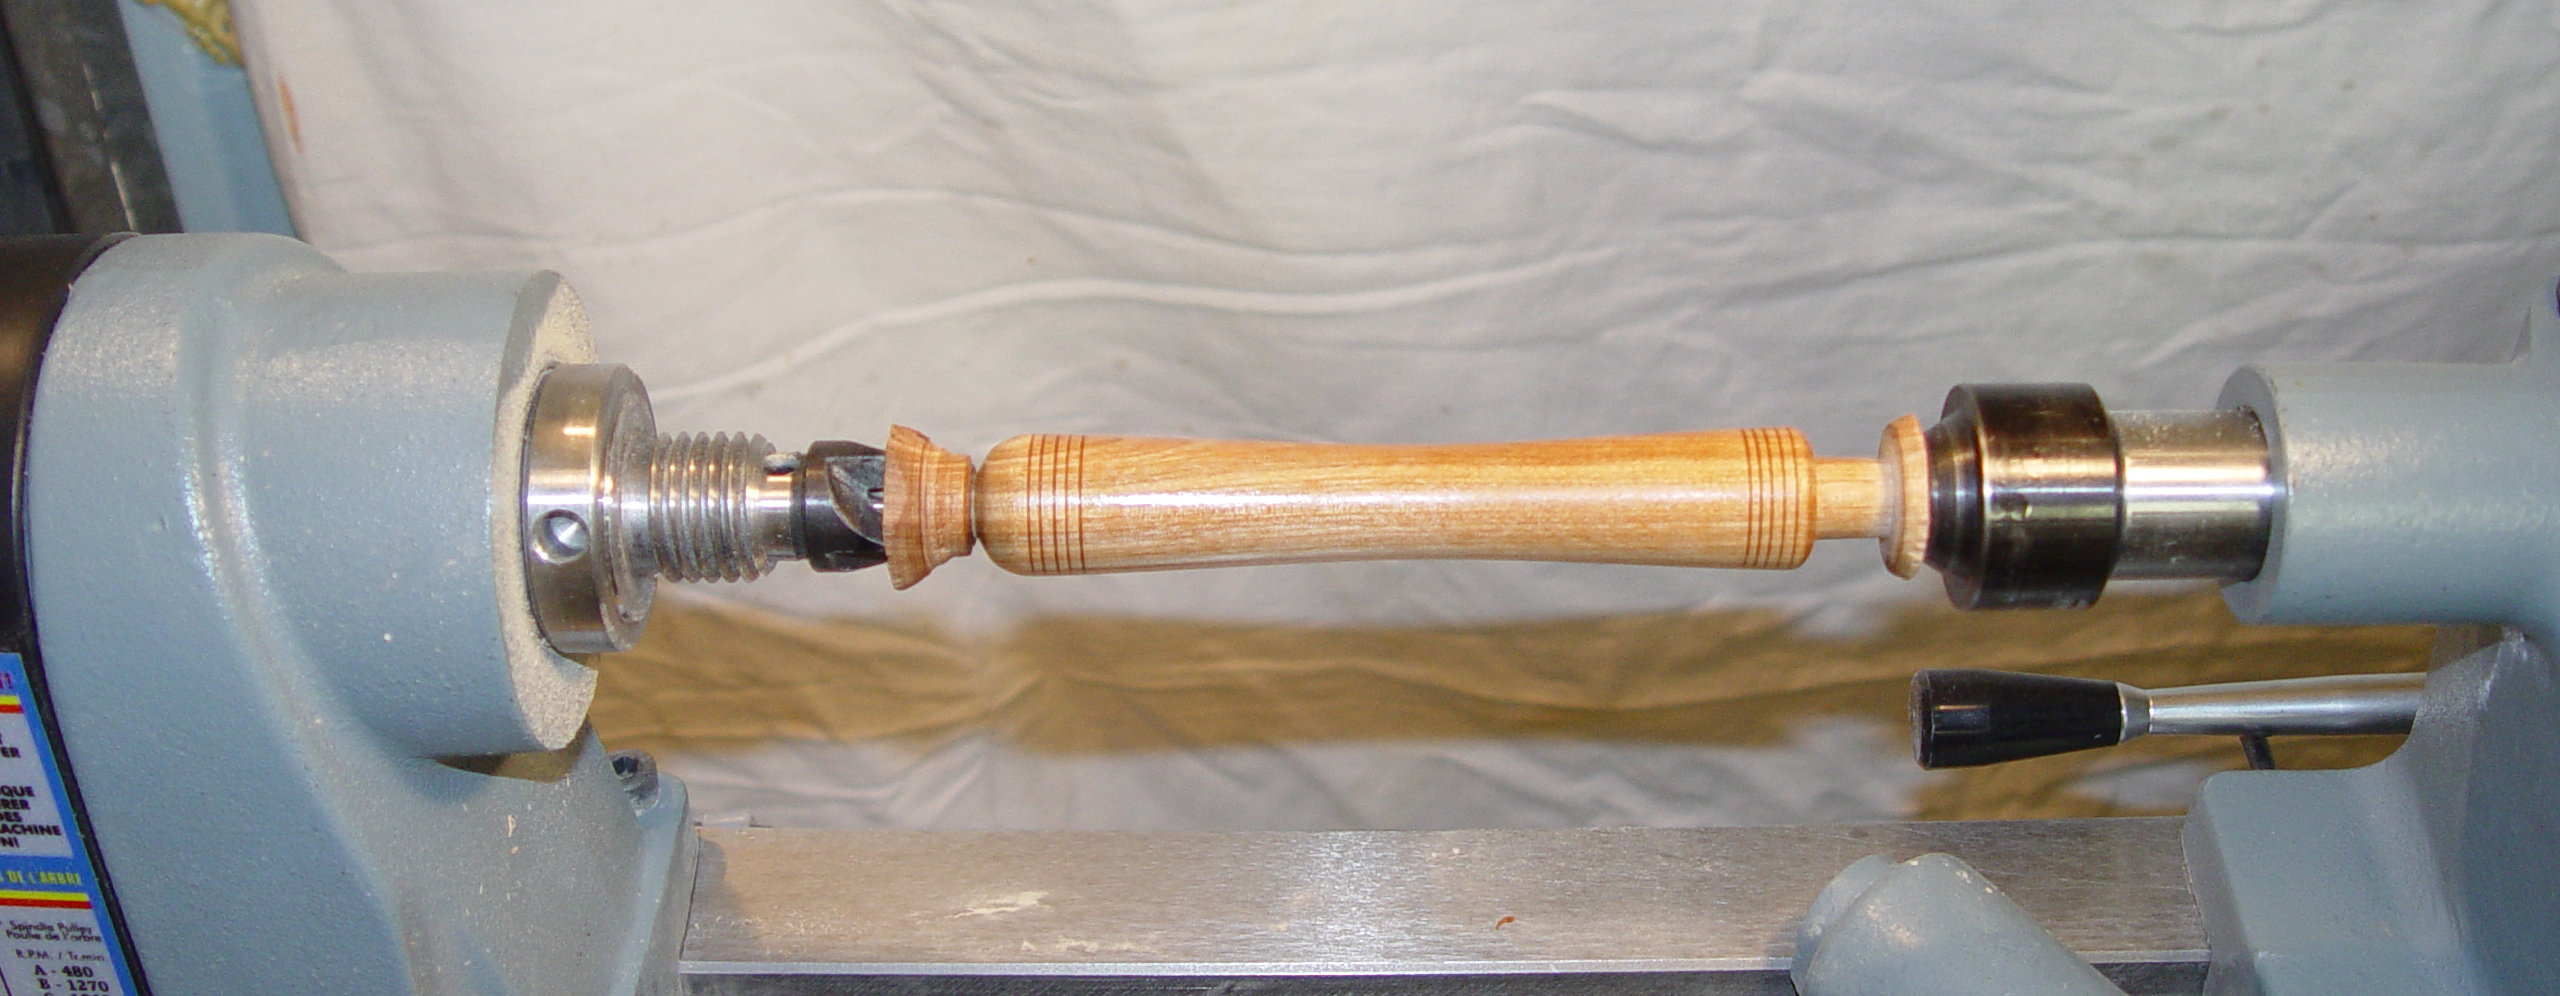
Spindles |
Destined to be a Candle holder with a base and a cup at the top to be attached with glue. |
Click on images to see a larger version. |
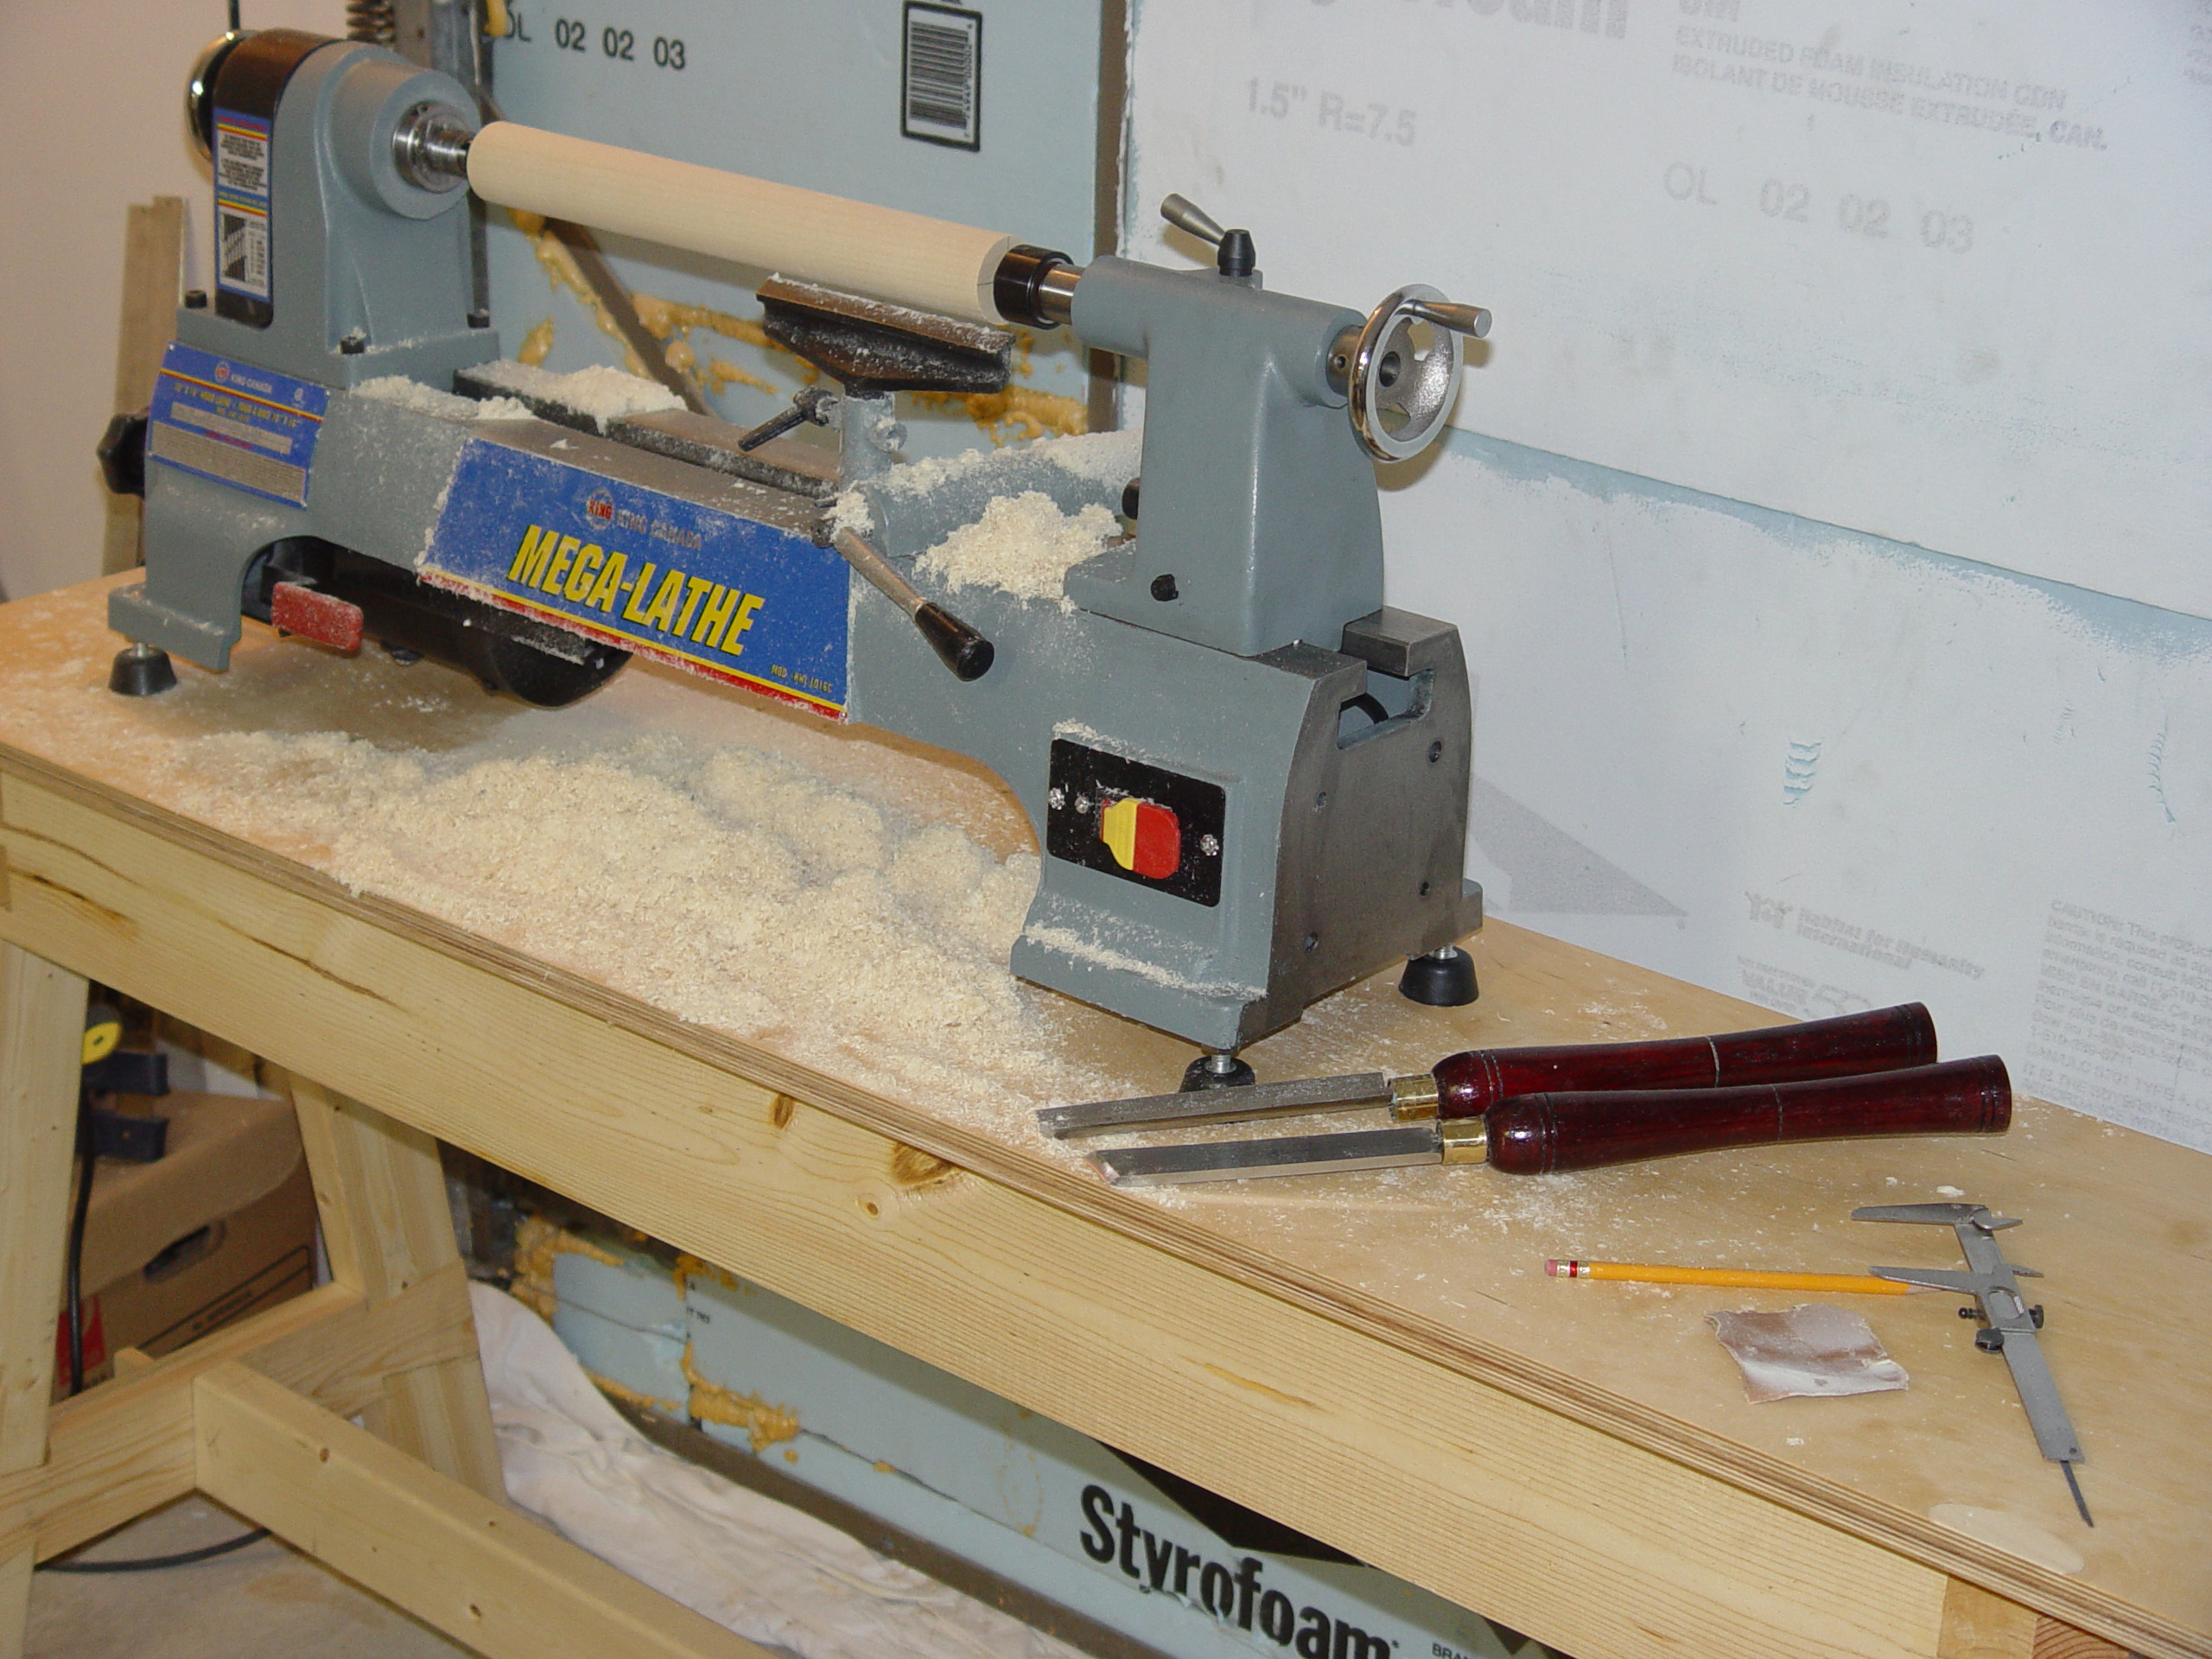
Turned Spindles |
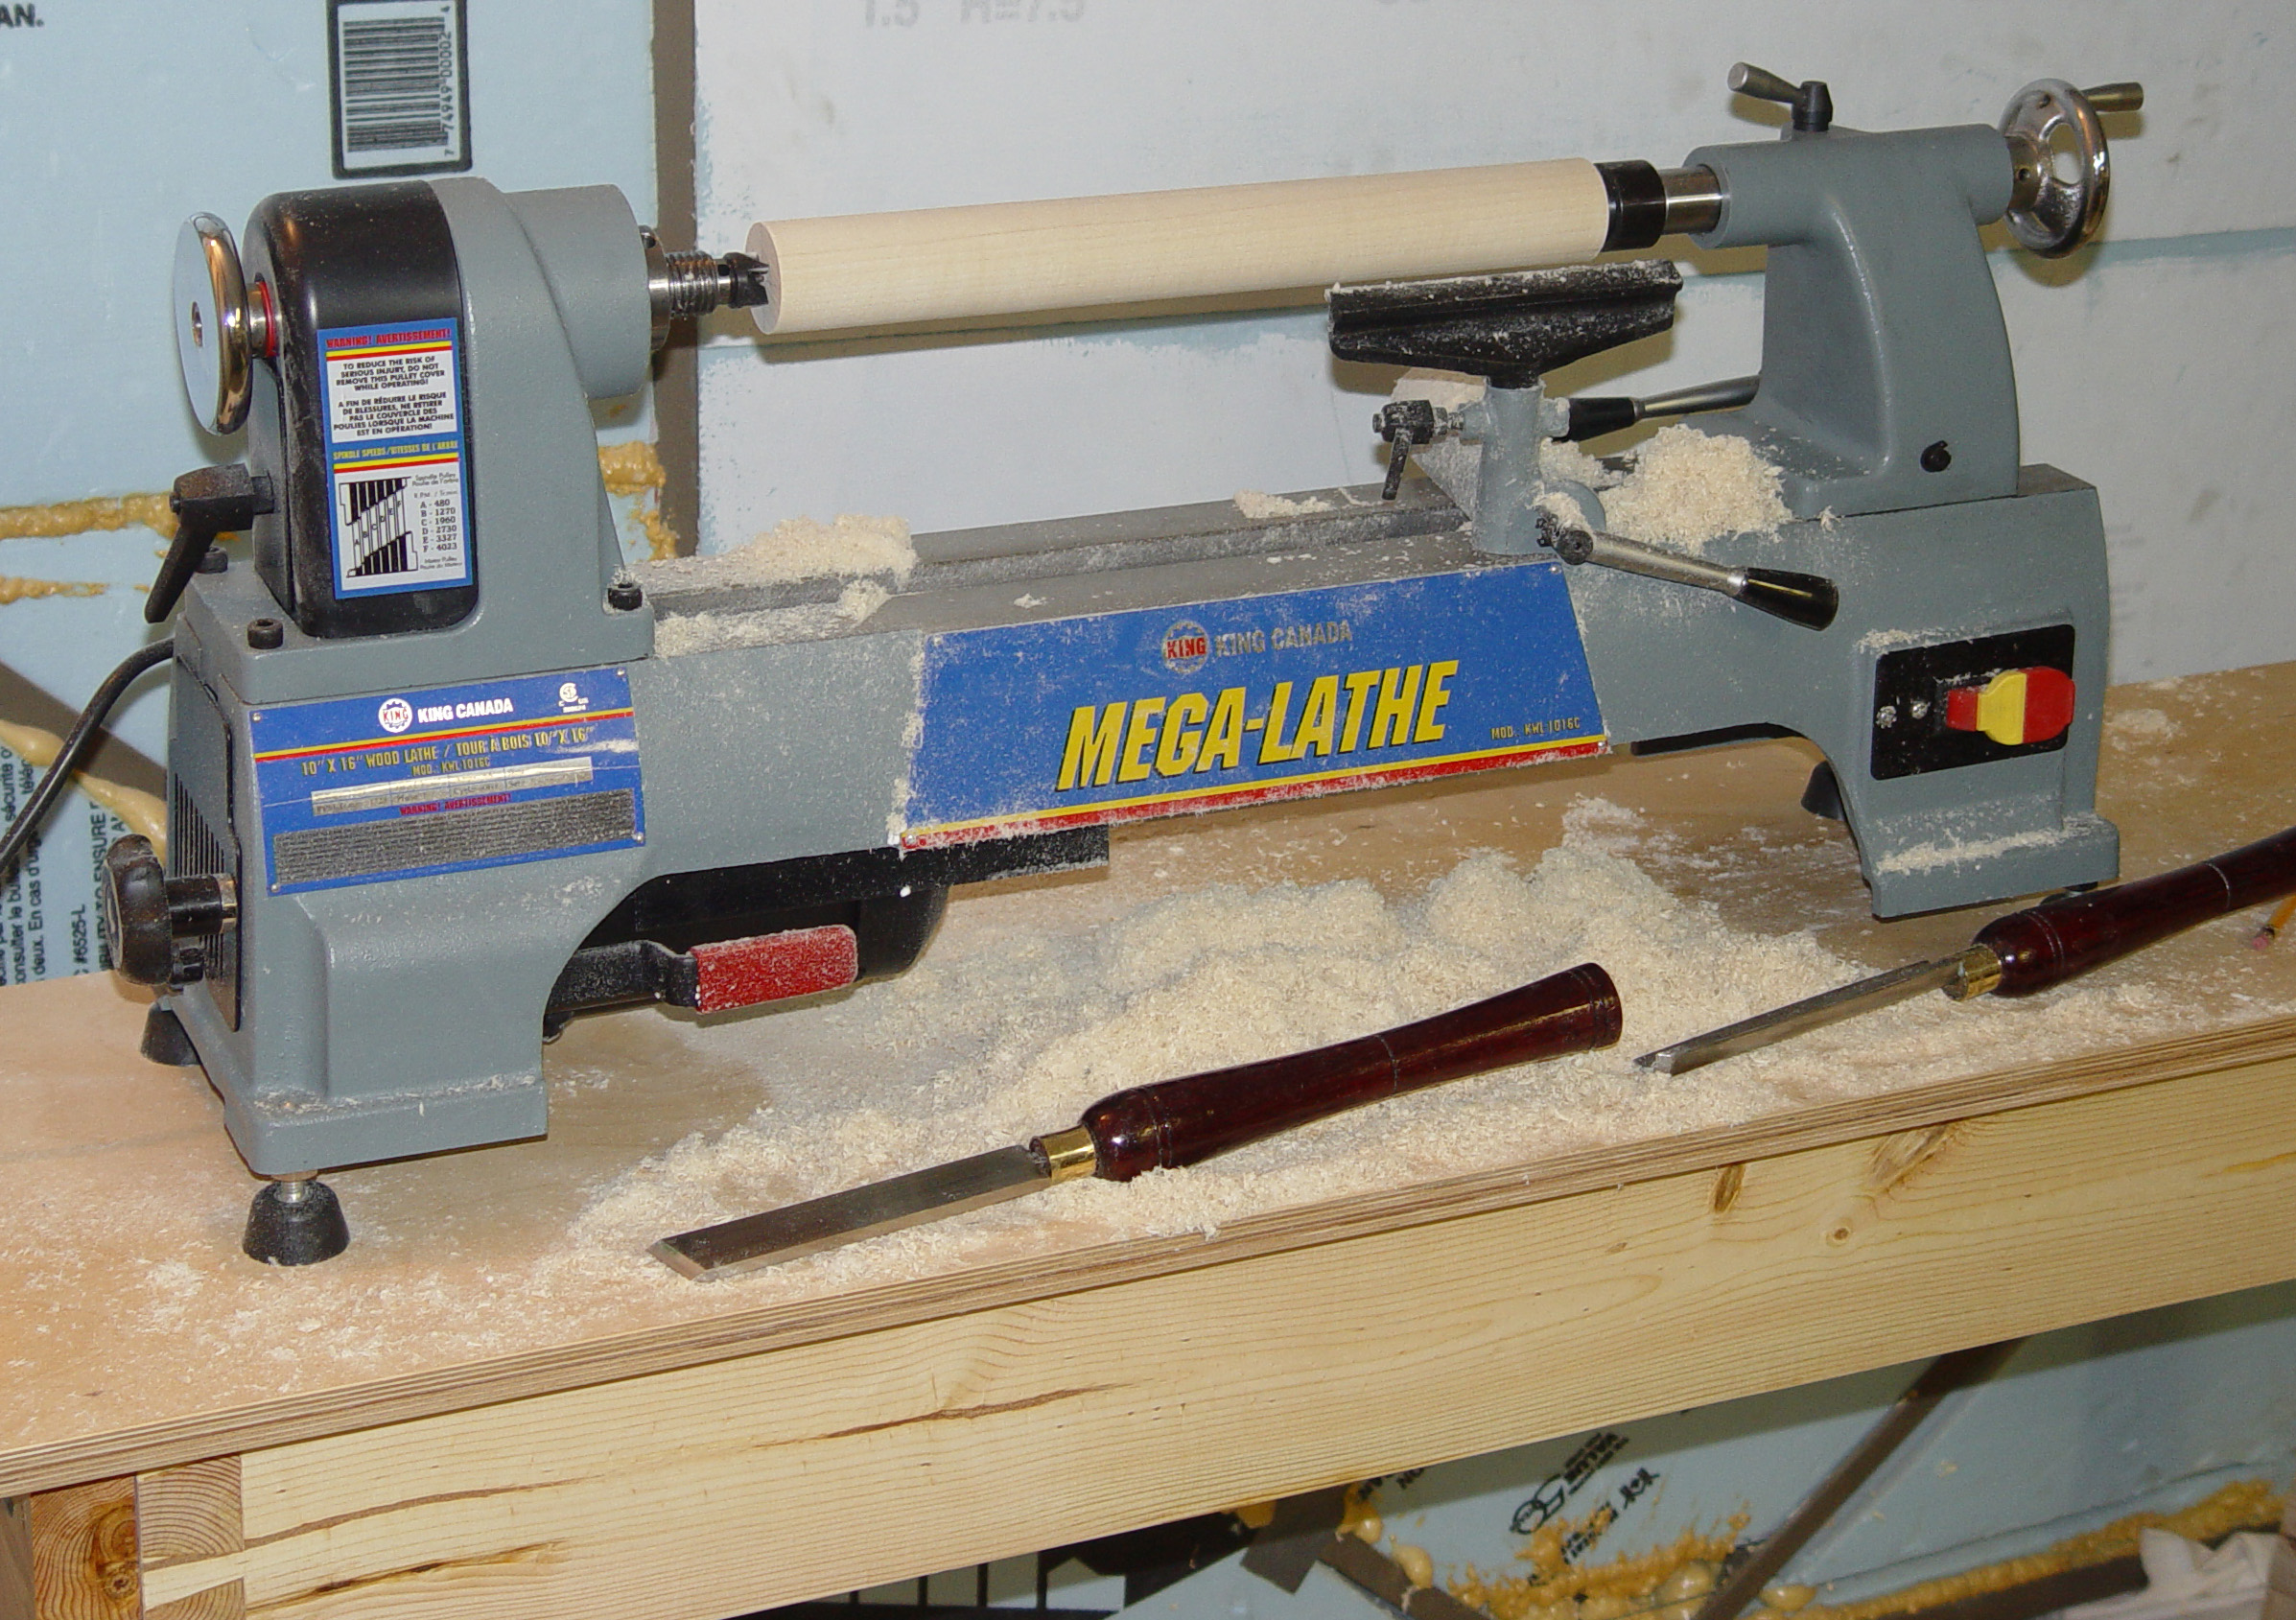
Well ok! It's a rather simple project -- but it's a start. A cylinder of poplar wood to test the lathe setup and the chisel sharpening work. Roughing and smoothing were done at 1960 RPM. A second view of the lathe on its new stand A third view of the lathe showing the first cylinder turned on the lathe. Turning a cylinder is harder than it appears -- since we all know what a cylinder looks like, it is easy to judge. It is uniform -- or not. This one was turned to less than 1/8 inch by eye with a roughing gouge, then flattened and smoothed with a large skew. It has not been sanded. It is accurate to about 1/32. The lighting has been adjusted only on the cylinder to show the grain of the poplar wood. |
Click on images to see a larger version. |
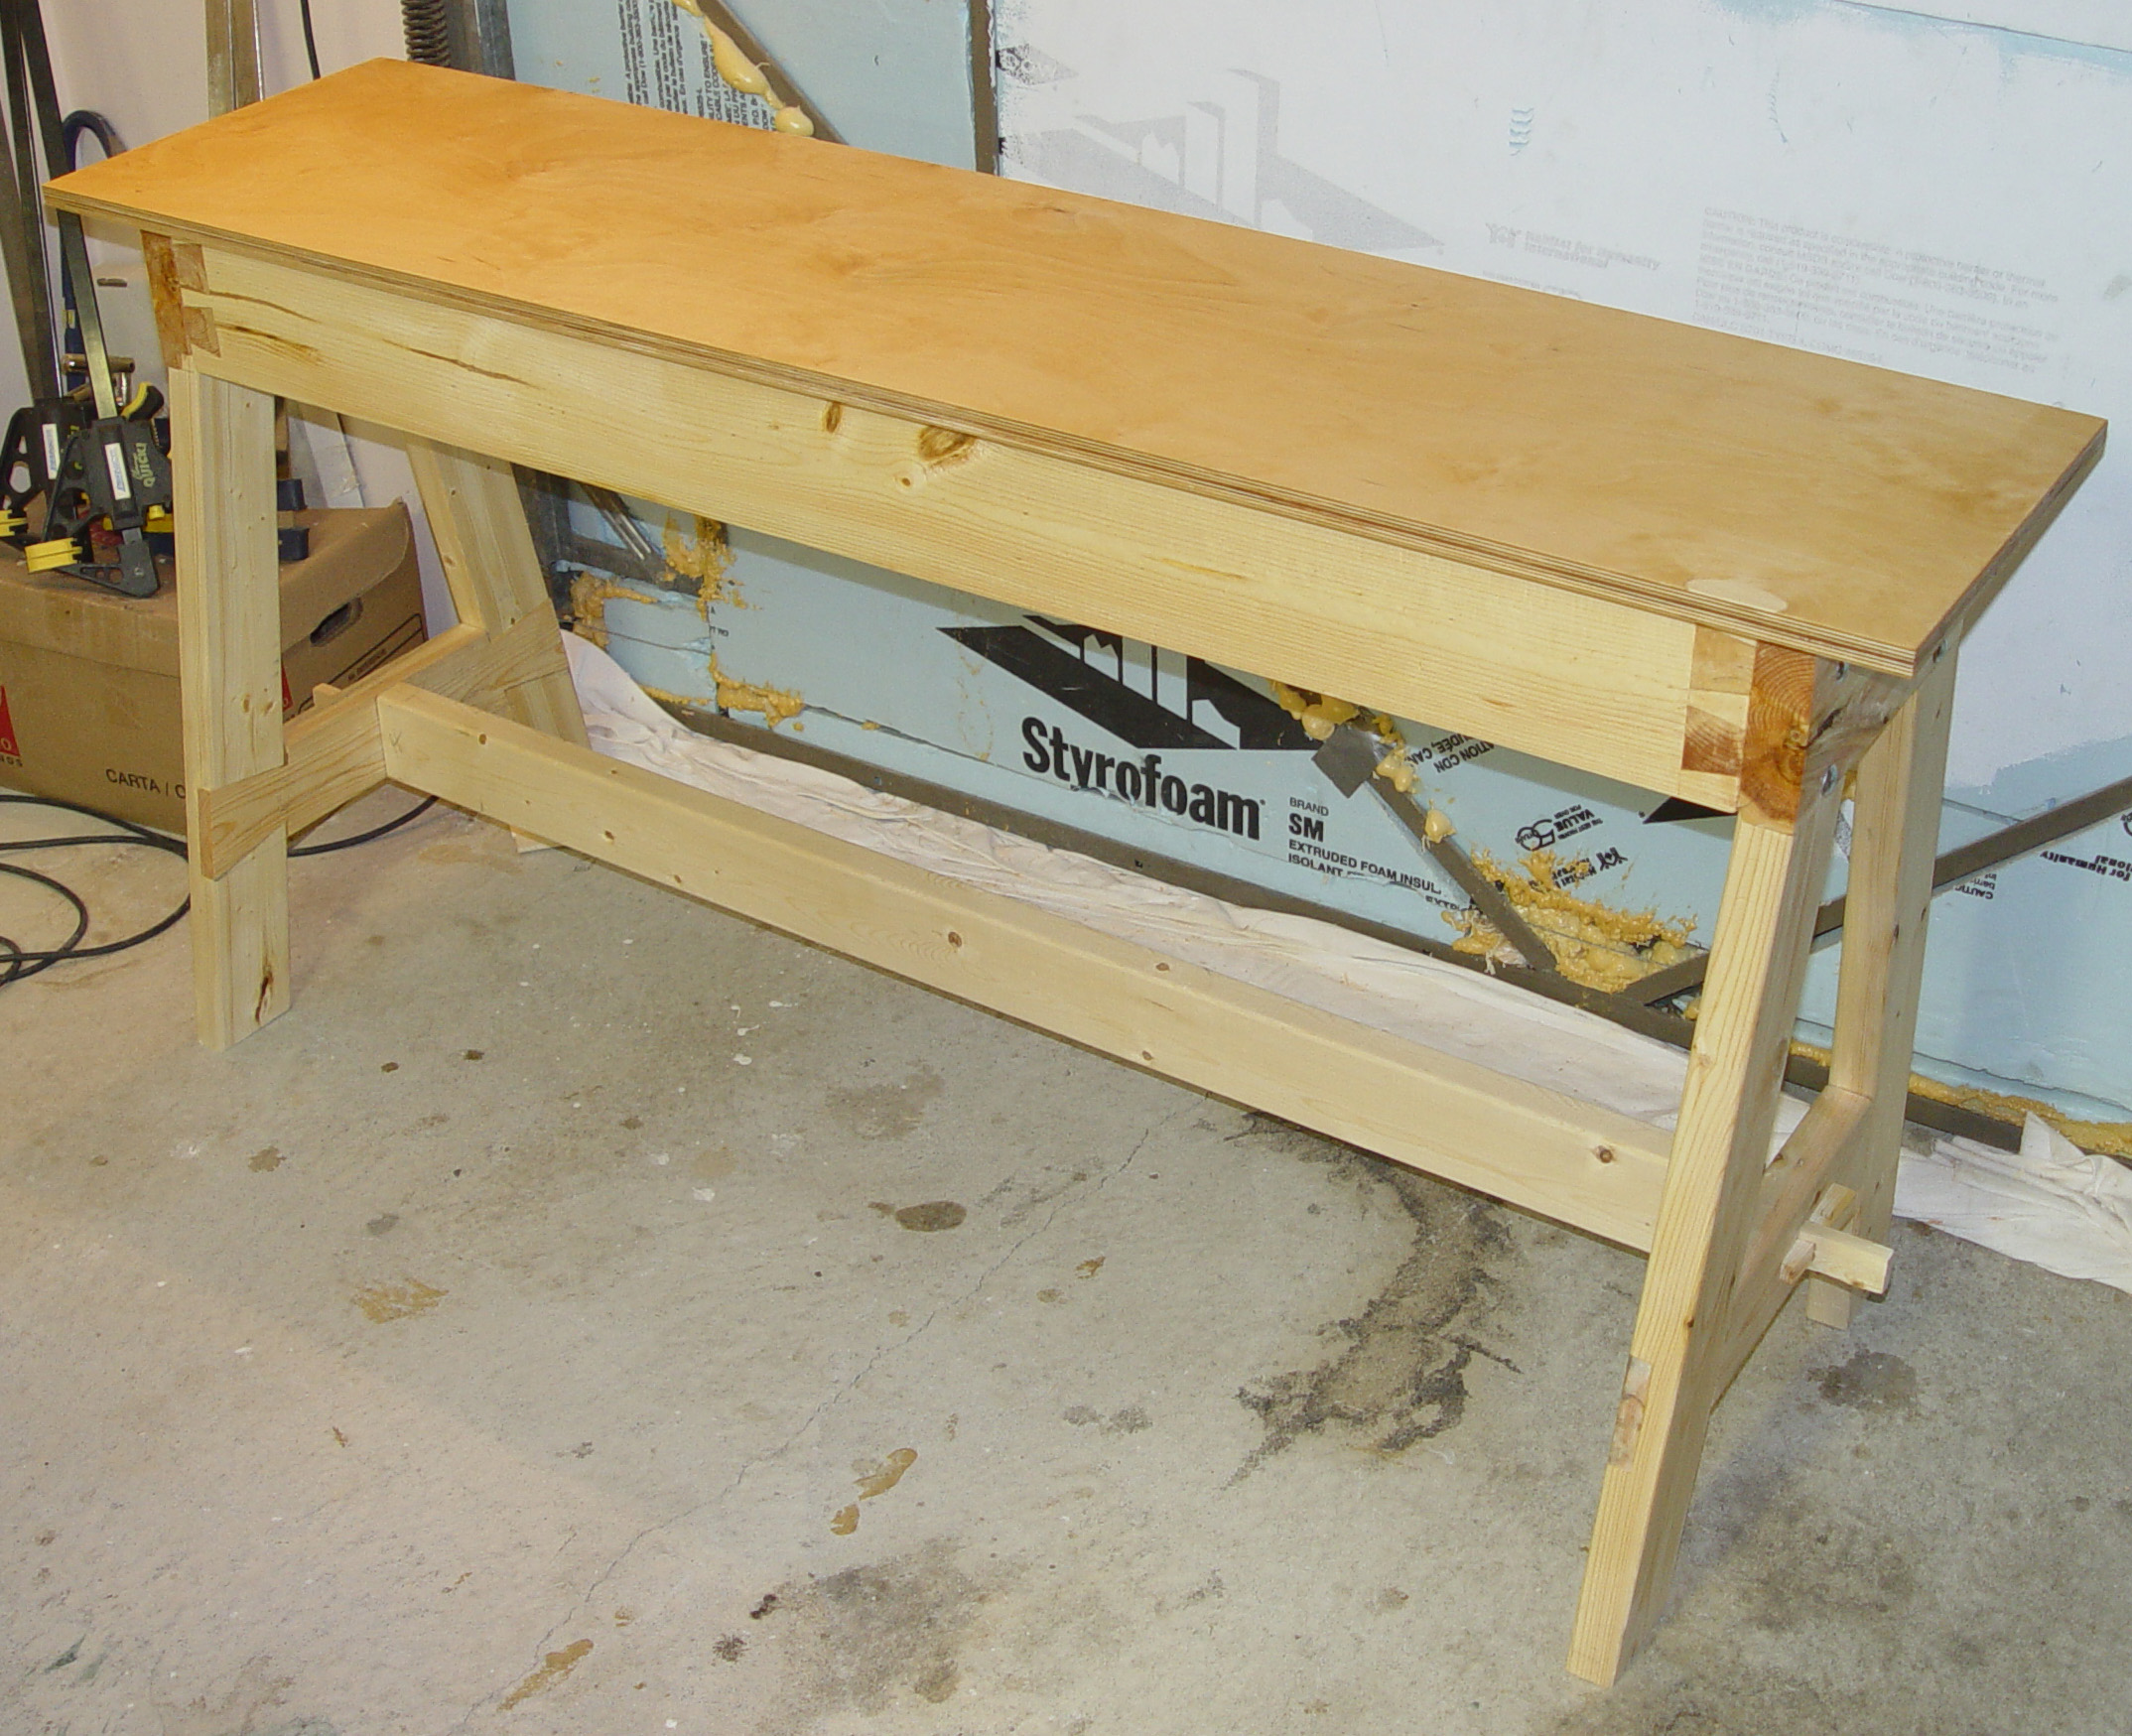
Lathe Stand |
This table was made to be sturdy -- since it supports the lathe. It incorporates half lapped dovetails on the legs, and full dovetails on the table top support frame. The top support for the legs are simple glued half -lap joints - as they will mostly be under compression. The angled half lap supports the leg and counters and twisting motion. The bottom cross-member is not glued -- but has a mortise and tenon joint with a peg to tighten the joint. It will shortly (eventually) be the support for the "drawer box" which will house the tools and parts for the lathe. The table is large enough to accommodate the bed extension for the lathe. See here for more information on the table construction. |
 |
Spindles of Various designs |
Some of the spindles were used in the Oak stool on the furniture page. |
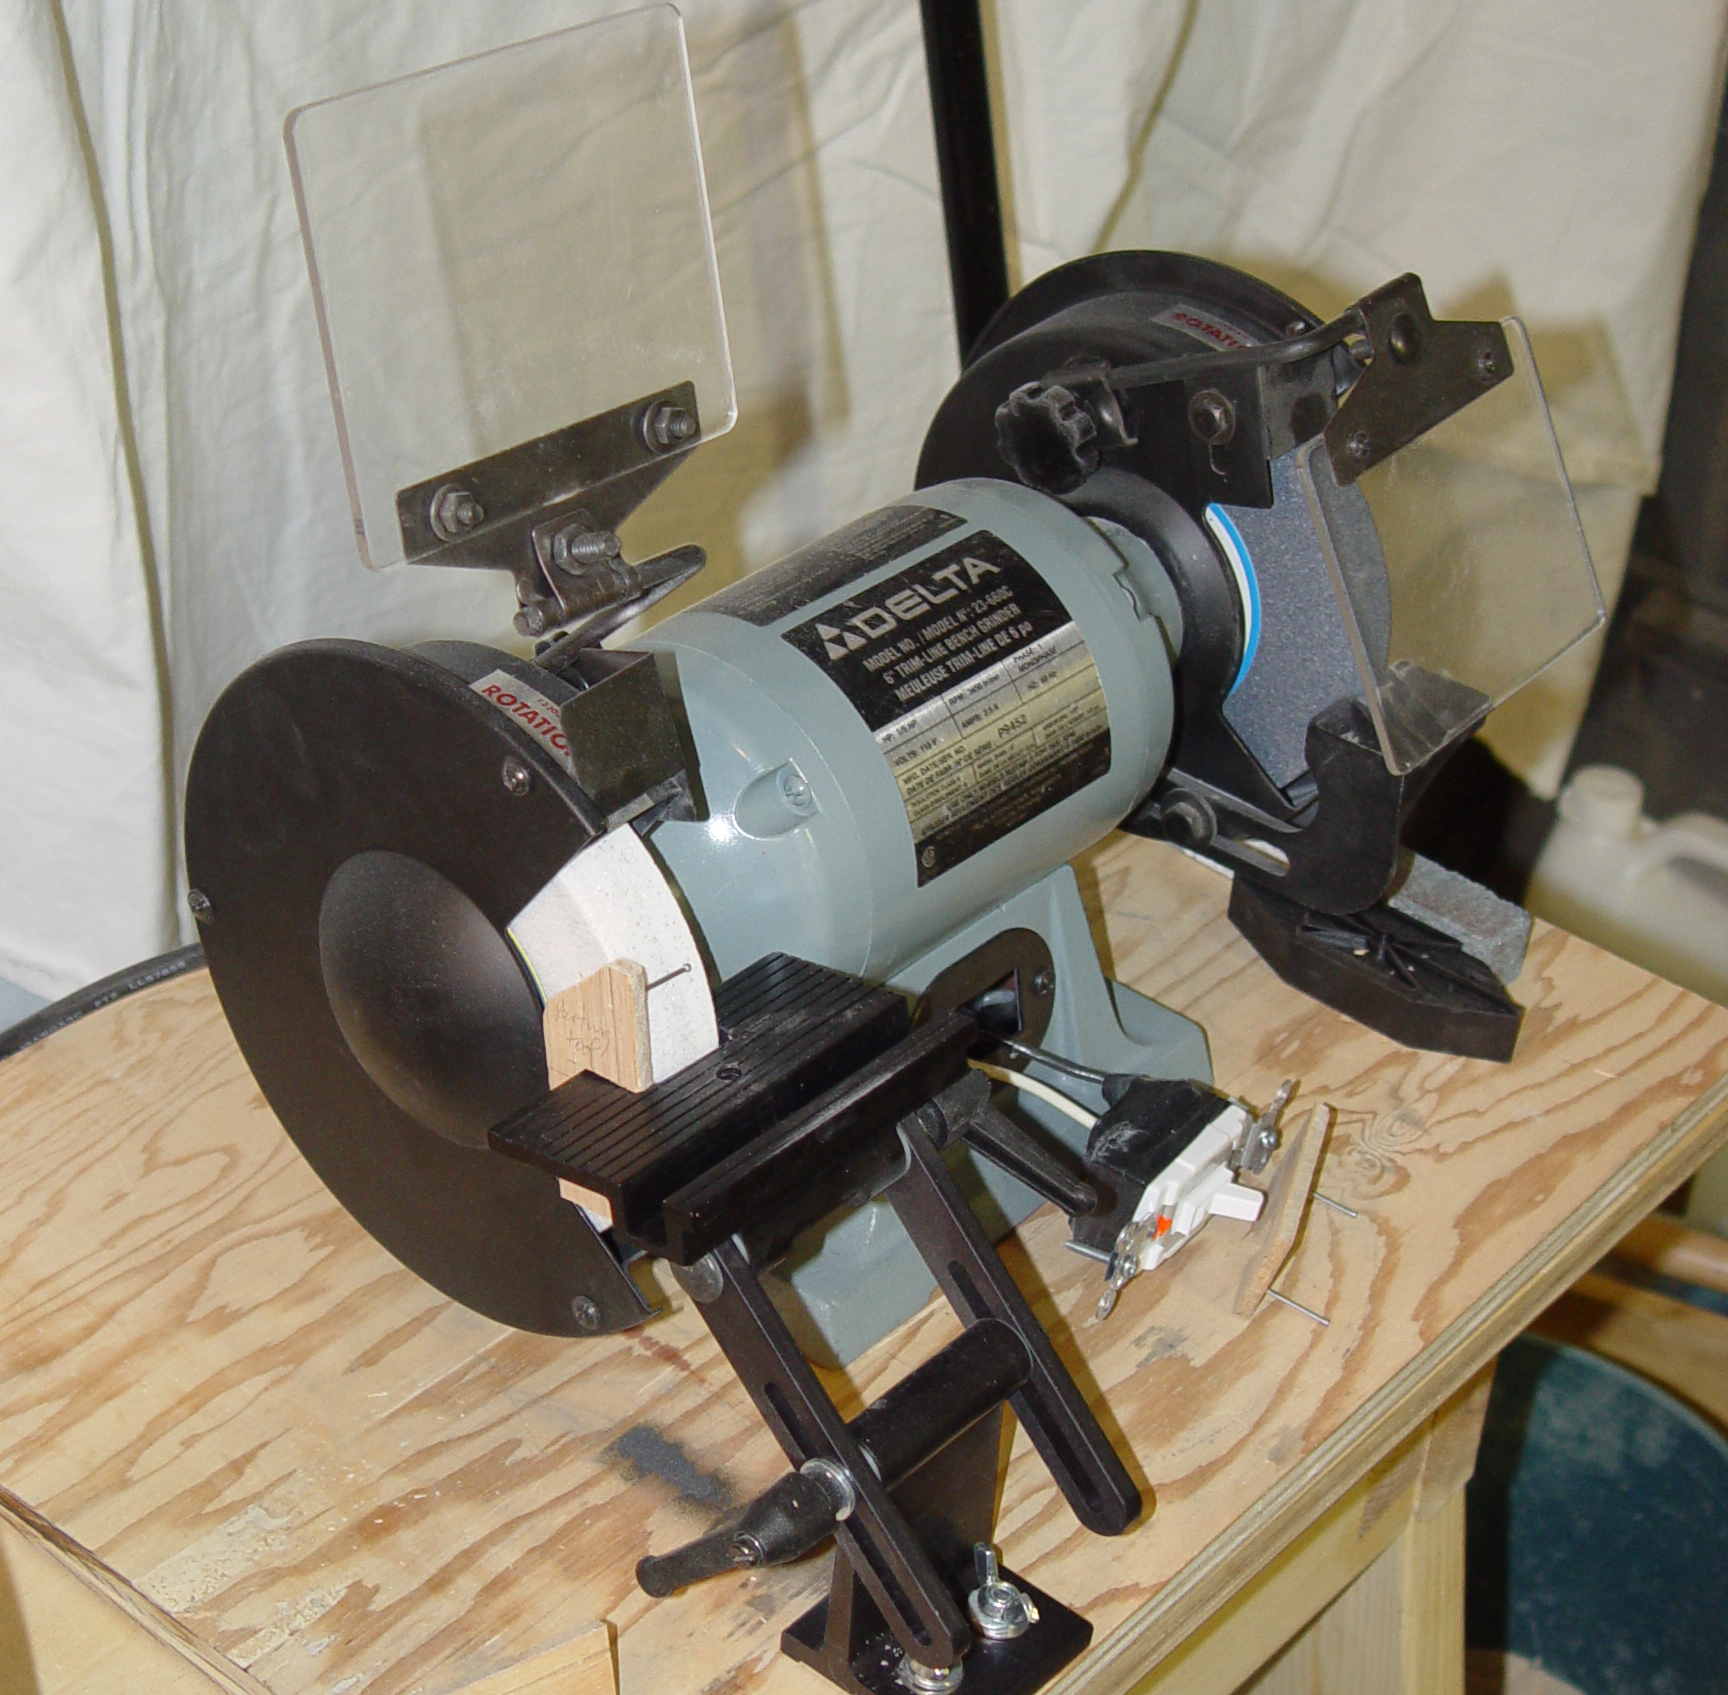 |
Grinder and Veritas Table |
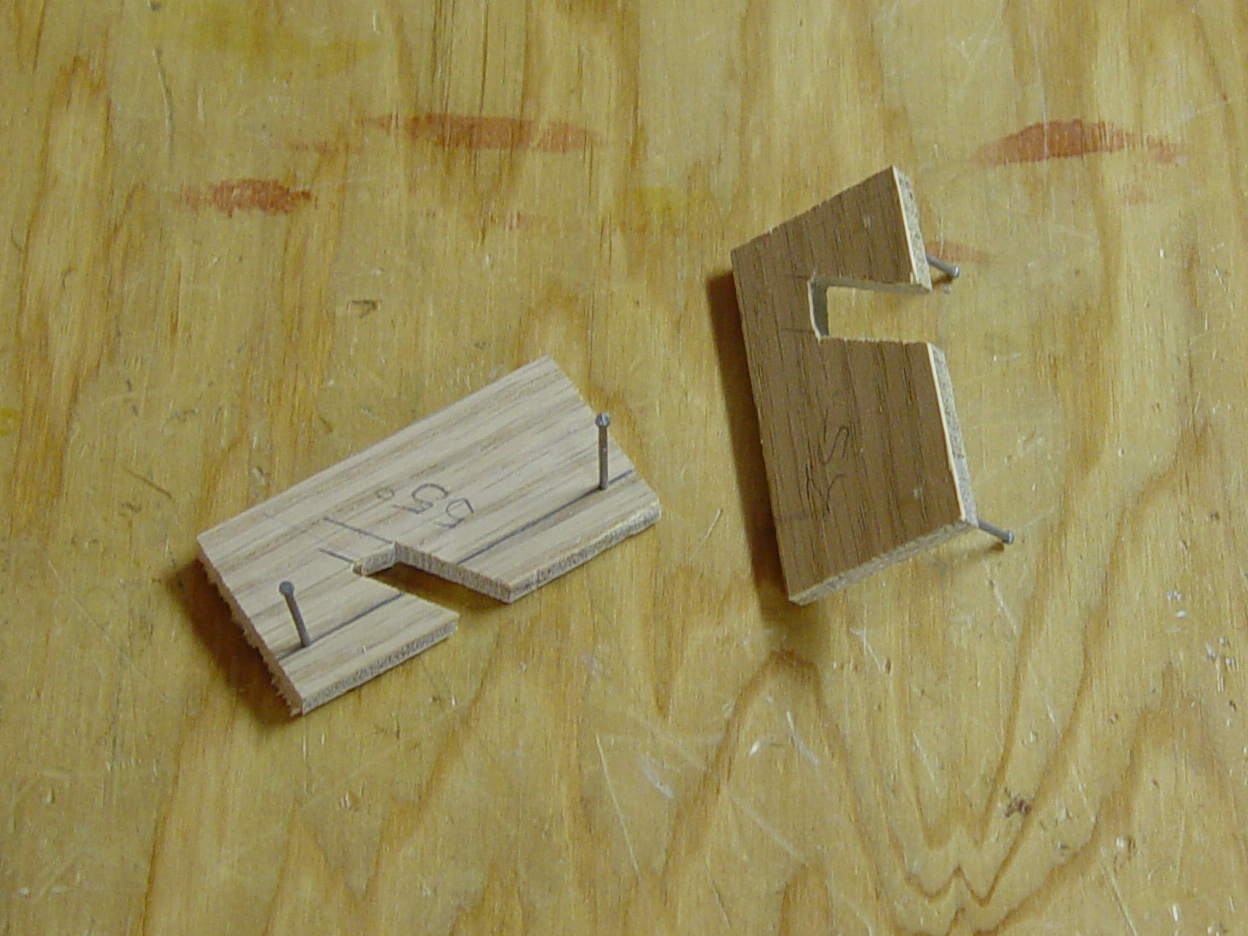
The grinder is an integral part of of the wood turning setup. Tools lose their sharpness quickly when turning most hardwoods. In this case it is shown with BWA adjustment jig (Patent Pending). This allows setup of a new angle in a few seconds. Loosen off both screws. Apply jig and insert table into slot. Jiggle around until you like table placement. Hold table against bottom lip so it remains seated on jig. Tighten bottom table screw. Tighten top screw. Remove the jig. After changing a few times it can be done in a few seconds. Then you are more likely to sharpen a tool - which improves work quality. Setting up the grinder to put a fresh edge on the parting tool. A couple of Angle Setting jigs. The pins form a chord across the circle. A Ray to the centre of the wheel is at 90 deg. to the chord. The edge of the jig is parallel to the chord. If you know your angles and complements, the rest should be obvious. |
![]()
![]()
![]()
This document maintained by
woodworker@pmccl.com.
Material
Copyright © 2004, 2005 Jewel Boxes of Bradford
Updated February 19, 2005